Digital Photography & imaging [Week 4]
10.26.2023 / week 4
Sheryne Axellia Putri / 0367267 / Bachelor of Design (Honours) in Creative MediaDigital Photography & Imaging
Week 4 10.26.2023 - Introduction to Photoshop 3
- Adjustment Layer, the Adjustment Layers in Photoshop are a group of super useful, non-destructive image editing tools that add color and tonal adjustments to your image without permanently changing its pixels.


2. Levels, modify the tonal values in an image by adjusting the levels of the shadows, mid-tones, and highlights. It’s one of the most used tools in the adjustment layer panel, and using just a touch of levels will go a long way in correcting your images.

3. Curves, let you adjust as many points as you want throughout the entire tonal range of your image, and is the most powerful and precise tool for editing the tones in an image.

4. Exposure, lets you adjust exposure levels with three sliders: Exposure, Offset, and Gamma. Exposure will adjust only the highlights of the image, Offset adjusts the mid tones and Gamma will adjust the dark tones only.


- Filters, there are filters to change color, add blur, or create completely new image effects. Photoshop offers a virtually unlimited variety of filters for this purpose.
- Photoshop filters
- How to use Adjustment Layer.
INSTRUCTION:
Attach your best composition from the WEEK 3 digital collage exercise below.
Using the same Photoshop file, improvise your WEEK 3 digital collage into WEEK 4 by using Adjustment Layers & Filters on Photoshop.
Explain what you’ve learned in the description section.
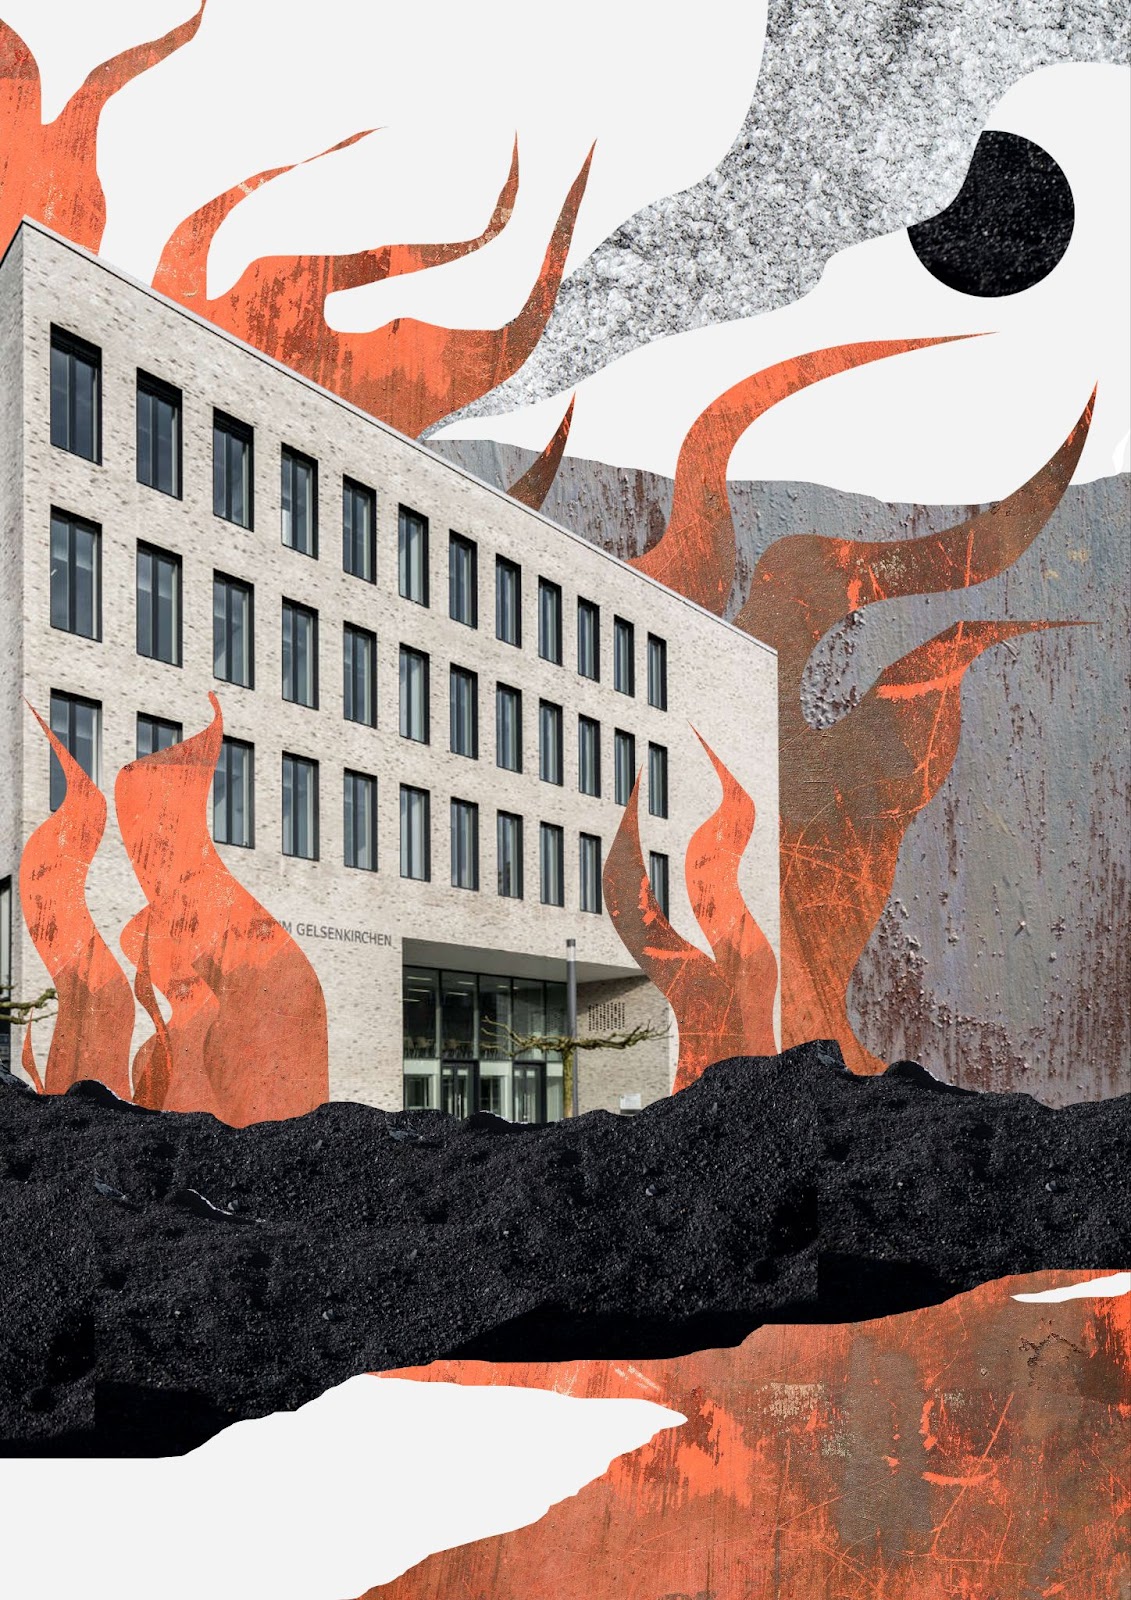 |
| Figure 2.1 Week 4 (10/26/2023) The chosen composition. |
Description: A burning building, I use the red texture image as the fire, I tried to achieve something simple with only a few objects that were used, there are only 4 pictures that were used in this collage.
Week 4 10.26.2023 - Adjustment Layers and Filters
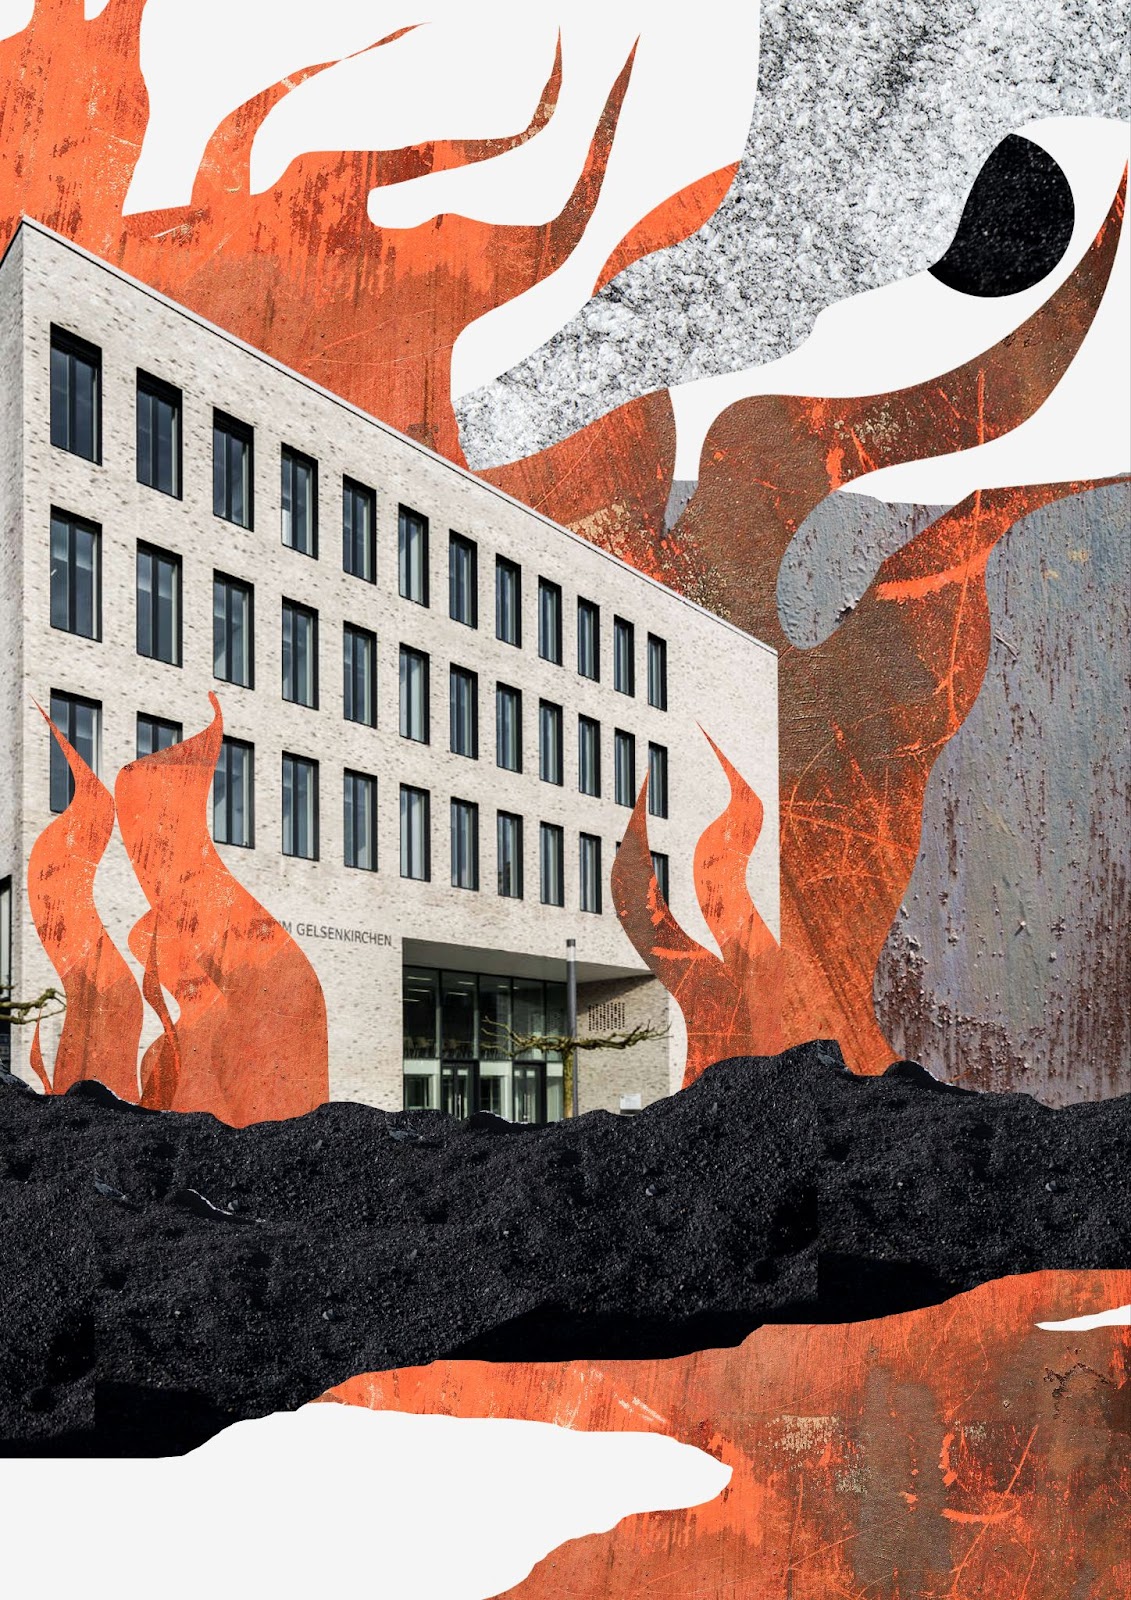
Description: I changed the size and dragged some of the objects to make it more composed, like the placement for the fire and the smoke, I also added a little contrast to show the texture of the fire.
FEEDBACK


Comments
Post a Comment